This will guide you through the process of creating a ship in the ship creator.
First of all, you need a TShips file to import, you can either get this from an existing mod or tships file, or creating your own.
If the ship available comes with a single TShips line, ie Balogt's ships from his FTP site, then to use it you need to turn it into a correct tships file.
To do this, first rename it to TShips.txt if its not already, then edit it, if its just a single line of data, then add the line, 48;1; at the top.
Ie, if the file is something like this:
940;0;0.096670;0.096670;0.096670;5;6211;93000;15500;103;1;5;89;550;128;225;ships\sg1\batedora\batedora.bod;4515;50529855;6;8000;0.145180;3;2;132521535;5;10;10;400;800;0;69;2;0;0;0;0;0;0;0;0;0;0;0;3;10;32000;35;36;1;3;30;2023;2;1;0;ships\props\cameradummy;12;2;1;ships\props\cameradummy;18;2;1;4;1;4;1;1;ships\props\invisible_weapon;13;;1;2;1;ships\props\invisible_weapon;14;;1;3;1;ships\props\invisible_weapon;15;;1;4;1;ships\props\invisible_weapon;16;;1;5;2;2;2;5;1;ships\props\turretdummy3;17;;1;6;1;ships\props\turretdummy3;17;;1;130;16000;25;1;0;6500;100;0;0;SS_SH_PL_SOULSTAR;
Change it to
48;1;

940;0;0.096670;0.096670;0.096670;5;6211;93000;15500;103;1;5;89;550;128;225;ships\sg1\batedora\batedora.bod;4515;50529855;6;8000;0.145180;3;2;132521535;5;10;10;400;800;0;69;2;0;0;0;0;0;0;0;0;0;0;0;3;10;32000;35;36;1;3;30;2023;2;1;0;ships\props\cameradummy;12;2;1;ships\props\cameradummy;18;2;1;4;1;4;1;1;ships\props\invisible_weapon;13;;1;2;1;ships\props\invisible_weapon;14;;1;3;1;ships\props\invisible_weapon;15;;1;4;1;ships\props\invisible_weapon;16;;1;5;2;2;2;5;1;ships\props\turretdummy3;17;;1;6;1;ships\props\turretdummy3;17;;1;130;16000;25;1;0;6500;100;0;0;SS_SH_PL_SOULSTAR;
This will alow the file to be loaded into the Ship Creator.
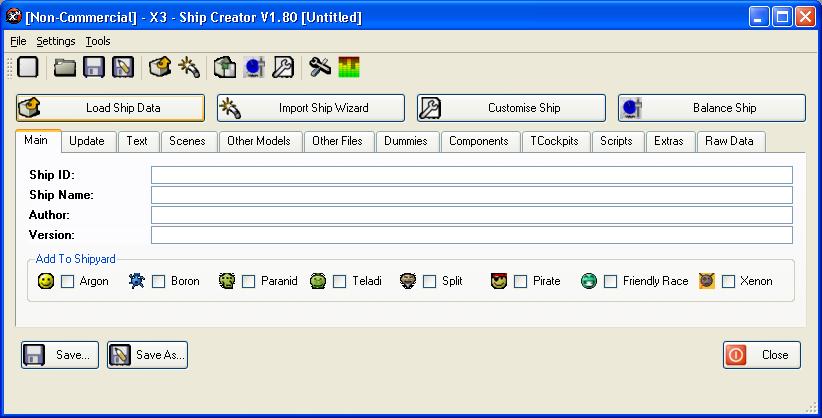
To start creating the ship package, you need to load in the data from the TShips file.
Select the "Load Ship Data" button and then select the TShips file you create, or the mod file you wish to import it from.
When you load ship data, you will have to select which ship from the TShips to import, it will display all entries avaialble.
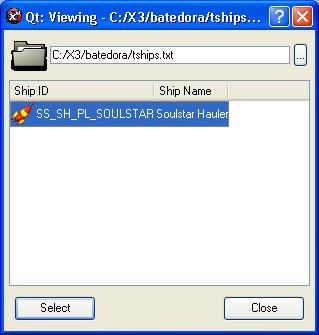
If you create the file with a single entry, only one will display here, making it easier to choose which ship.
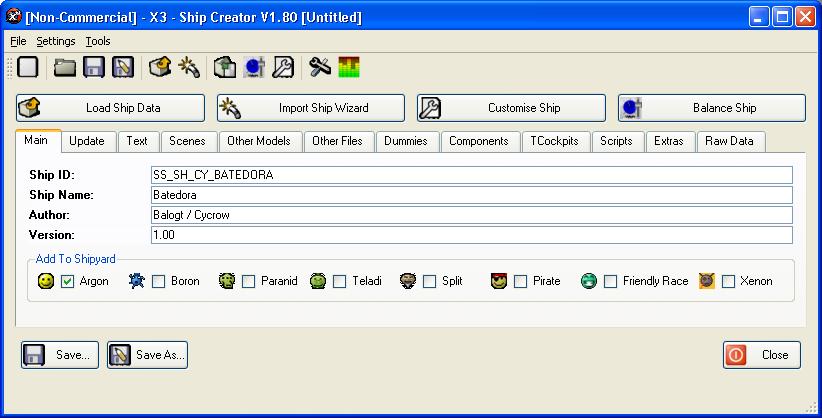
Now you need to enter the basic ship details, the Ship ID, Ship Name, Author and Version.
The Ship ID is the string id that ship is known as, this is best to be unique as its used to detect if an existing ship is installed as well as used in the scripts to use the ship in game. I would suggest putting your initals in the ID somewhere to make it unique to you.
The Ship Name is the name of the ship that will appear in the Installed List
The Author is who create the ship or package, ie You, i tend to put the name of the model creator in the author as well.
The Version is the version number of the ship so you can tell if theres any updates.
Finally you need to select the ship yard you wish the ship to be onsale to, this will make the scripts add the ship to the selected shipyards so the players can buy them.
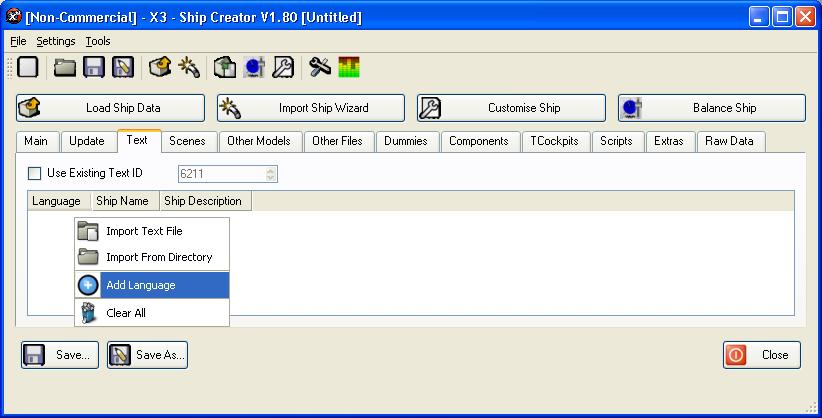
In the Text Tab, you can enter the text for the ship, the text can be added in different languages, so when its installed, each language text file is created.
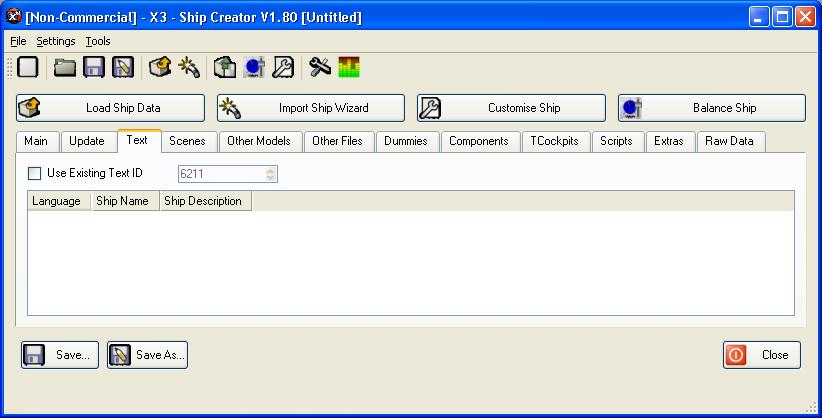
To add a new text entriy, right click in the list and select the option to Add Language.
This will open the Add Text Dialog
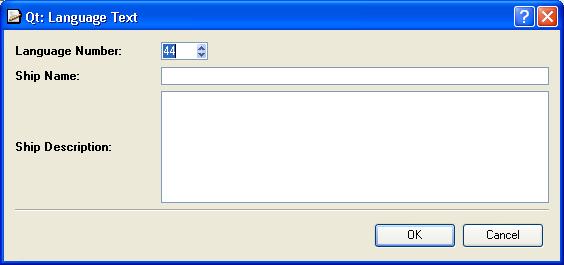
Choose the language number for the text, 44 is for English
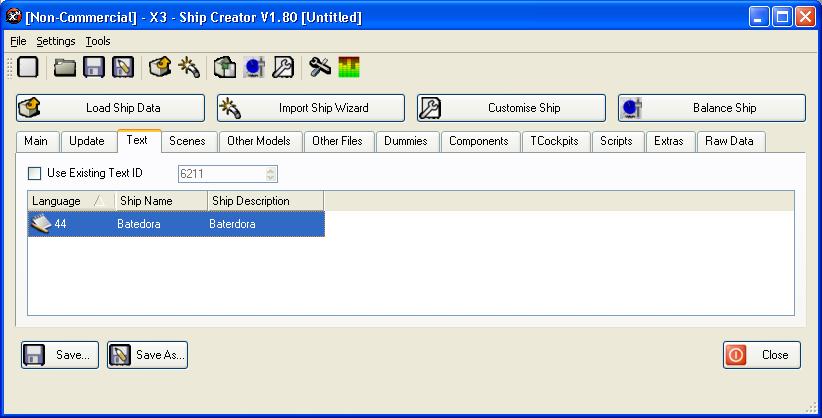
Then enter the Ships name and Ships Description, The ship name is what will be displayed in the game for the current language. Then goto OK to add the text.
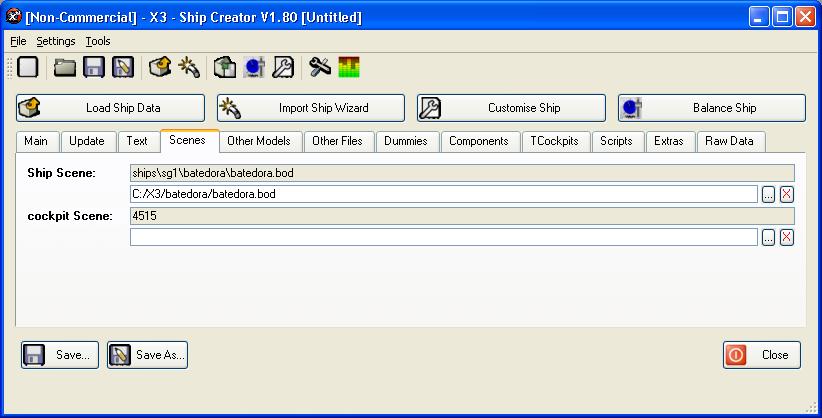
The scene file is what determines how the ship is layed out and what models it uses.
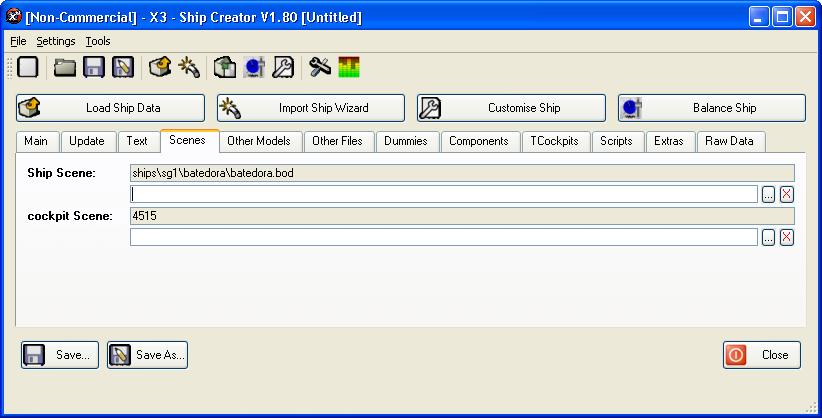
This first is the Scene file to be stored as, this is got from the TShips file and should be filled in, you can change this if you wish.
You need to add a scene file to the package, select the "..." button at the right of the input. This will ask for a scene file, select the scene file for the ship you are creating.
When creating, this will be renamed to match the above entry so it can be used when installing the ship so the filename doesn't have to match.
You usually need to add other model files for the ship, theres usually at least one extra model file with is used for the ship body, but there sometimes several to be added.
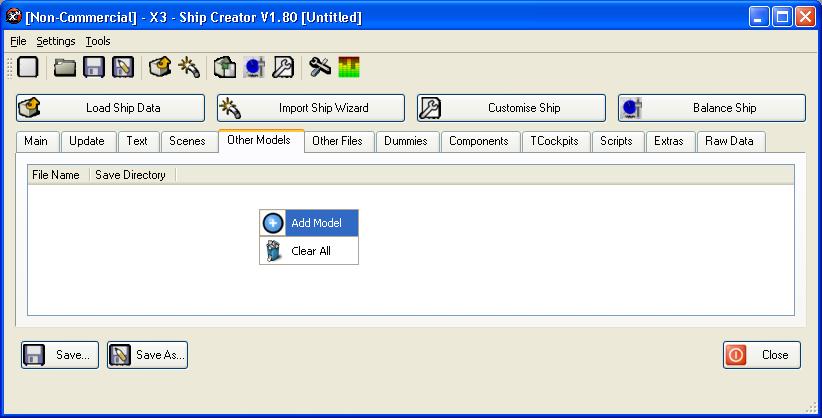
To add model files, either right click and select Add Model from the menu, or drag and drop the file into the list.
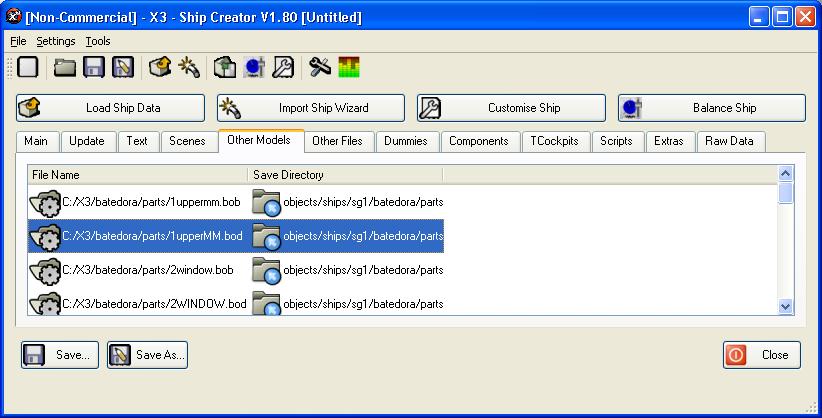
You can add multiple files at a time, just select all the model files you need to add then you will be asked for the directory to add them to. The directory has to be the same as they are referenced in the scene file. For this ship, all the models are in the parts directory of the scene file.
This is now the basic ship package ready to use, some ships might require extra files like textures, or dummies nad components entrys, for more information look up the other help pages.
Finally you need to save the ship, select the save option and enter the .xsp filename to save as and you ship package will be created.